Introduction:
If you’re looking to revamp your home’s interior without a full-scale renovation, painting the trim is an excellent way to
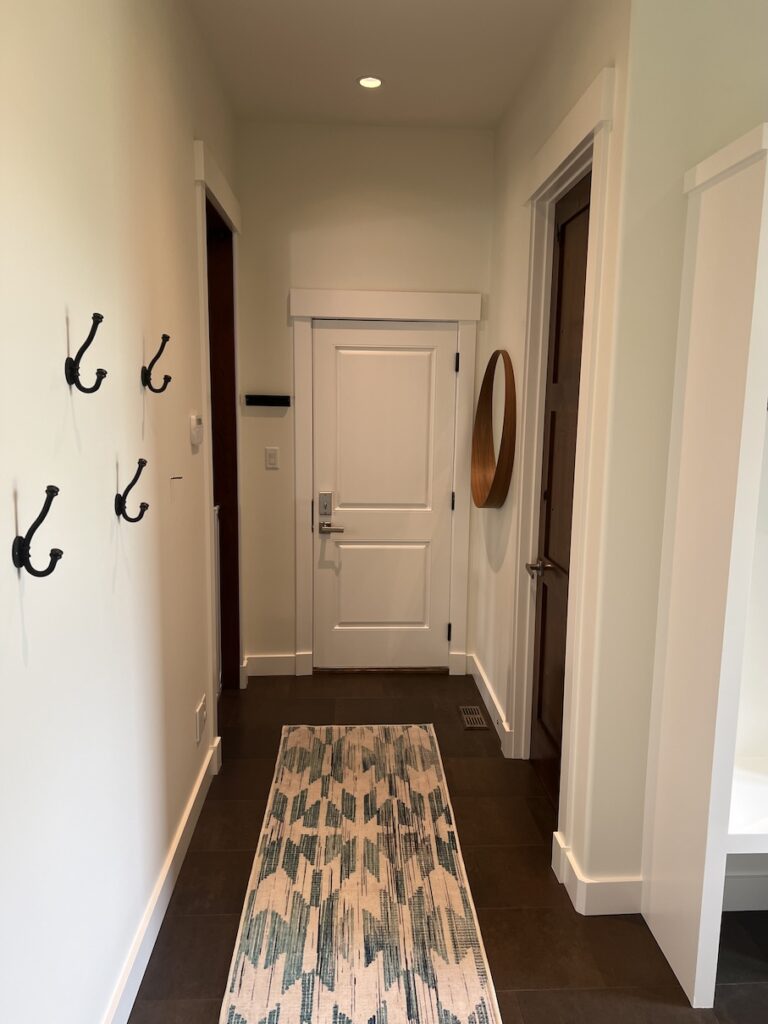
bring new life to your living space. Crisp, freshly painted trim can add a touch of elegance and make a significant difference in your home’s overall aesthetics.
In this comprehensive guide, we’ll walk you through the step-by-step process of painting trim like a pro, ensuring a flawless finish that will leave your guests in awe.
- Gather Your Supplies:
Before you begin, make sure you have all the necessary supplies on hand. Here’s what you’ll need:
High-quality trim paint in your preferred finish (e.g., semi-gloss or satin).
Semi-gloss or satin paint finishes are often preferred for trims over matte or flat finishes due to several practical and aesthetic reasons.
Painter’s tape to protect adjacent surfaces and ensure clean lines.
Angled brush for cutting in and detail work.
Paint roller and tray for covering larger areas.
Sandpaper to smooth the surface and remove imperfections.
Cleaning supplies to remove dirt and dust from the trim. - Prepare the Trim:
Proper preparation is crucial for a smooth and durable finish. Start by removing any dust or debris
from the trim using a damp cloth or vacuum If the trim has rough spots or previous
layers of paint, lightly sand them until the surface feels smooth to the touch. This will create a clean
canvas for the new paint to adhere to. - Use Painter’s Tape:
To ensure neat and straight lines, apply painter’s tape along the edges of the trim where it meets the wall.
Take your time with this step, making sure the tape adheres well and there are no gaps where paint could seep through.
We at Smart Painting Ltd. prefer to work with Blue Frog Tape, it features patented Edge-Lock Technology, which enhances its ability to create clean paint lines. This technology helps create a
barrier that seals the edges of the tape, blocking paint from seeping through and resulting in a professional-quality finish. - Prime the Trim (If Necessary):
If you’re painting over raw wood or stained trim, it’s recommended to apply a coat of primer first.
Primer helps the paint adhere better, prevents stains from showing through, and improves overall coverage.
Using an oil-based primer on raw wood offers several advantages that make it a better choice compared to water-based or latex primers. - Cutting In:
Begin by cutting in around the edges of the trim using the angled brush. This technique involves painting the narrow areas and corners carefully. Use steady,
controlled strokes to achieve crisp lines and avoid smudging the adjacent surfaces. - Roll the Larger Areas:
Once the edges are done, use a paint roller to cover the larger surface areas of the trim. Roll the paint on evenly, working in small sections to maintain a wet edge.
This ensures a seamless finish and prevents visible brush marks. - Apply Multiple Coats:
For a professional look, apply at least two coats of paint. Allow each coat to dry completely before adding the next one. Between coats, inspect the trim for any
imperfections or brush strokes, and lightly sand if needed before proceeding with the next layer. - Remove the Painter’s Tape:
Once the final coat is dry to the touch (follow the manufacturer’s recommended drying time), gently remove the painter’s tape. Pull the tape at a 45-degree angle to ensure clean lines.
Conclusion:
The fresh, smooth finish of your newly painted trim will undoubtedly add charm and elegance to your home’s interior.
With proper preparation, the right tools, and a bit of patience, you can achieve a flawless look that will leave a lasting impression on anyone who enters your space.

